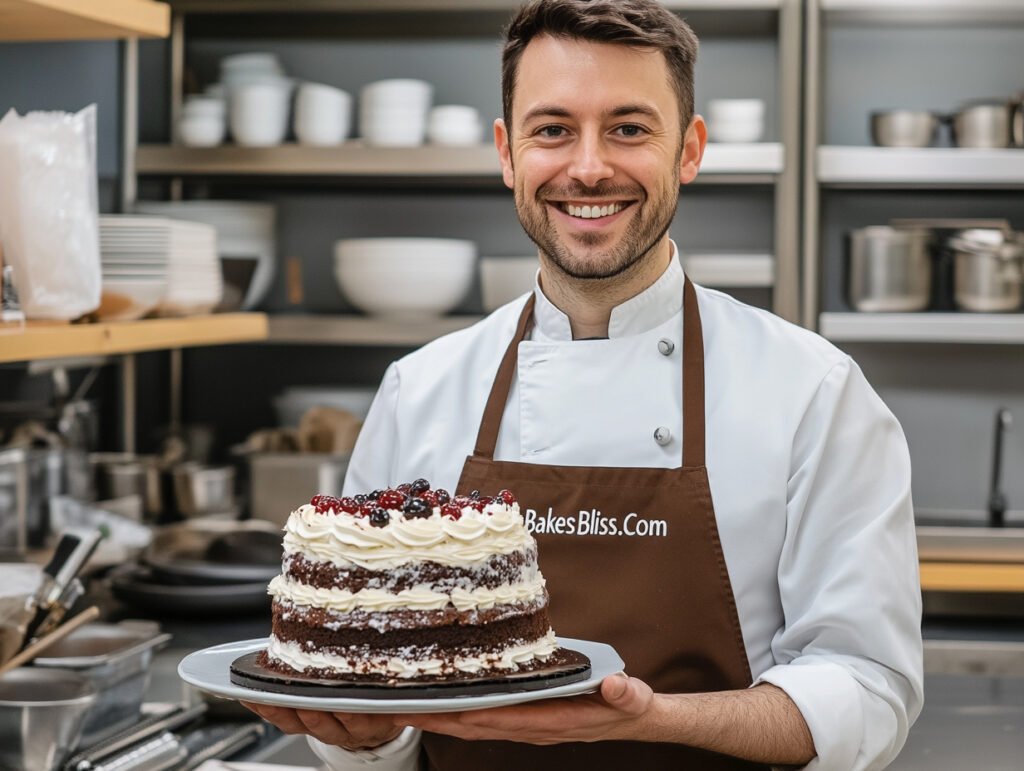
When I first discovered the magic of St. Louis Gooey Butter Cake in my grandmother’s kitchen, I knew I had to create something even more indulgent for fellow chocolate lovers. After countless attempts to perfect this recipe, I’m excited to share my triple chocolate version that takes the beloved classic to new heights. Trust me, once you try this intensely chocolatey, perfectly gooey creation, you’ll never look at dessert the same way again.
Every time I make this cake, I’m transported back to those cozy Sunday afternoons in my family kitchen, where the air was filled with the intoxicating aroma of melting chocolate and butter. This recipe holds a special place in my heart because it combines the nostalgic comfort of traditional gooey butter cake with the rich decadence that only triple chocolate can provide.
Ingredients
Through years of experimentation, I’ve found that using high-quality ingredients makes all the difference in creating the perfect chocolate ooey gooey cake. Here’s what you’ll need:
For the Chocolate Cake Base:
- 1 box chocolate cake mix (I prefer dark chocolate for extra richness)
- 1 large egg (room temperature)
- 1/2 cup Challenge Butter, melted and slightly cooled
- 1 cup semisweet chocolate chips (I use 60% cocoa for balanced sweetness)
For the Gooey Chocolate Layer:
- 8 oz cream cheese, softened to room temperature
- 2 large eggs (room temperature)
- 1 teaspoon pure vanilla extract
- 1/2 cup Challenge Butter, melted and cooled
- 2 cups powdered sugar (sifted to prevent lumps)
- 1/2 cup Dutch process cocoa powder
- 1/2 cup heavy cream (cold)
- 1 cup semisweet chocolate chips
I’ve found that having all ingredients at the proper temperature is crucial for achieving that perfect gooey texture we’re aiming for. The result is a cake that’s rich, decadent, and absolutely unforgettable.
Essential Kitchen Tools & Prep Guide: Setting Up for Success
As someone who’s made this cake countless times, I’ve learned that having the right tools ready before starting makes the baking process so much smoother. Let me share my kitchen setup that ensures perfect results every time.
My Must-Have Baking Arsenal
Having the proper equipment is crucial for achieving that perfect ooey-gooey texture. Through years of baking, I’ve found these tools indispensable:
Essential Equipment
I always start with my trusty 9 x 13 inch baking pan – it’s the perfect size for achieving that ideal thickness in both layers. I prefer a light-colored metal pan as it provides the most even baking.
For mixing, I rely on:
- A set of durable mixing bowls (at least 2-3 different sizes)
- My dependable electric mixer (while a stand mixer is fantastic, a hand mixer works perfectly too)
- Precise measuring cups and spoons (accuracy is key!)
- A sturdy rubber spatula (essential for scraping down those bowl sides)
- A reliable toothpick or cake tester
- Quality oven mitts (trust me, this cake gets hot!)
Getting Your Ingredients Ready for Baking Success
The Art of Perfect Preparation
The secret to creating the most amazing chocolate ooey gooey cake lies in proper ingredient preparation. I always start my baking process by ensuring all ingredients have reached the ideal room temperature. Through years of experience, I’ve learned that this crucial step makes a significant difference in the final texture of the cake.
Temperature Matters
When I’m planning to bake this cake, I remove the cream cheese from the refrigerator about two hours before starting. This gives it plenty of time to soften perfectly, making it blend seamlessly with other ingredients. The eggs need about 30 minutes on the counter to reach room temperature – this helps them incorporate more evenly into the batter, creating that perfect gooey texture we’re after.
Setting Up for Success
While my ingredients are coming to temperature, I begin preheating my oven to exactly 350°F. I’ve found that having the oven at the right temperature from the start is crucial for achieving that perfect balance between cake-like exterior and gooey center. During this time, I also prepare my 9×13-inch baking pan, making sure to grease it thoroughly. This step is essential for easy removal of the cake after baking.
Creating the Foundation
The base of this cake is where all the magic begins. I start by combining the chocolate cake mix with eggs and melted butter in my mixing bowl. When mixing these ingredients, I’ve discovered that a gentle but thorough approach works best – you want everything well combined but not overmixed. The resulting mixture should be thick and somewhat sticky. I then press this rich chocolate base into my prepared baking pan, making sure to create an even layer that will serve as the perfect foundation for our gooey topping.
Through countless batches, I’ve learned that taking time with these preparatory steps makes all the difference in creating a truly spectacular dessert.
Creating Magic: Layering Your Chocolate Ooey Gooey Cake
Crafting the Heavenly Gooey Layer
After years of perfecting this recipe, I’ve found that the gooey chocolate layer is where the true magic happens. I start with softened cream cheese – it must be completely smooth before adding other ingredients. Using my electric mixer, I beat the cream cheese until it’s silky and lump-free. Then, I carefully incorporate two room-temperature eggs, making sure each one is fully blended before adding the next.
The secret to achieving that perfect gooey texture lies in how you add the powdered sugar. I sift it gradually into the mixture, beating on low speed to prevent a sugar cloud from forming. A splash of pure vanilla extract adds depth to the flavor profile. Once everything is perfectly combined, I pour this luxurious mixture over the chocolate base, watching as it creates a beautiful layer of what will become pure chocolate bliss.
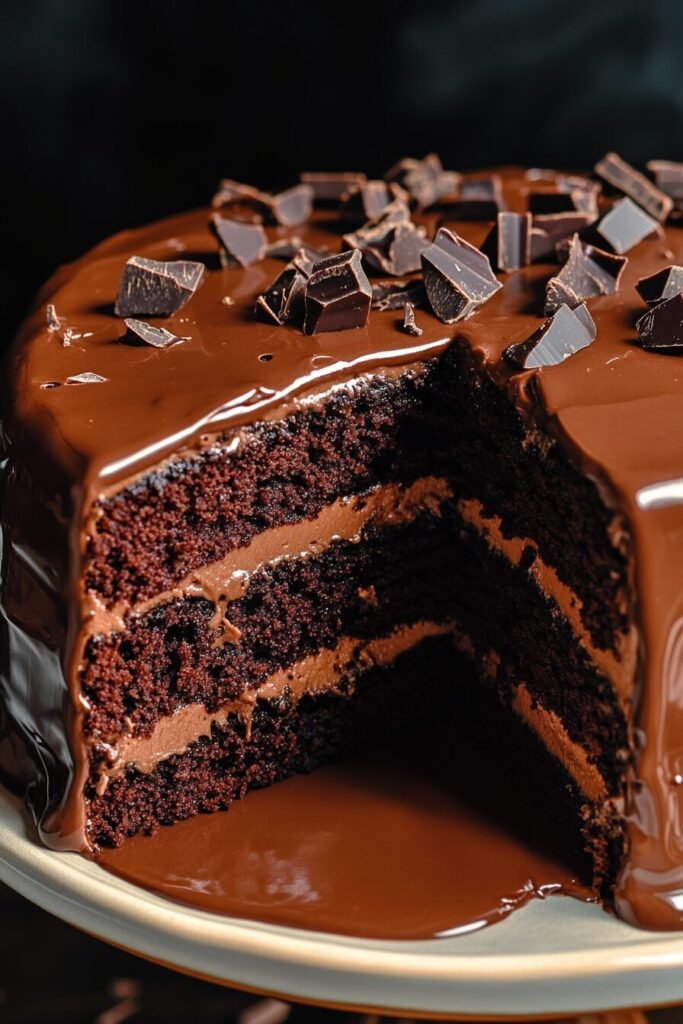
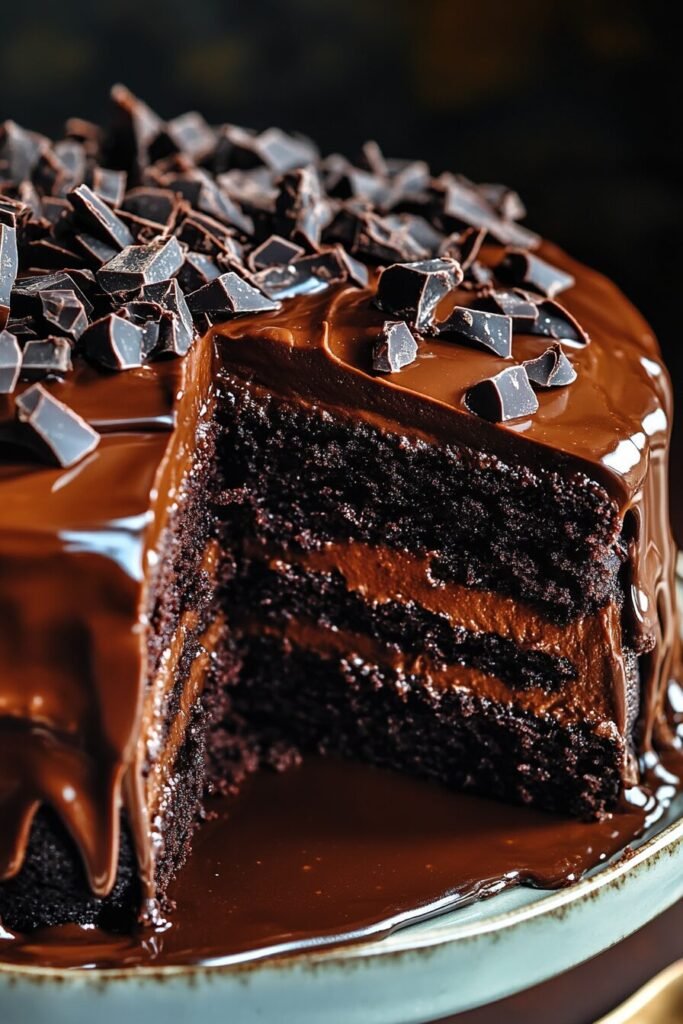
The Crowning Glory: Perfect Chocolate Ganache
The ganache is what elevates this cake from delicious to extraordinary. Through much experimentation, I’ve discovered that using high-quality chocolate makes a remarkable difference. I prefer using a combination of semi-sweet and dark chocolate for a complex flavor profile.
To create the ganache, I heat heavy cream just until it starts to simmer, then pour it over finely chopped chocolate. The key is to let it sit for a few minutes before stirring – this ensures the smoothest possible texture. A touch of unsalted butter adds shine and creates that perfect pourable consistency.
Mastering the Assembly
The assembly process is where patience truly pays off. Here’s how I build my cake for the best results:
First, I take special care with the base layer, pressing the chocolate cake mixture evenly into my prepared pan. I’ve found that using slightly damp fingers prevents the mixture from sticking while I work to create a perfectly even surface.
For the gooey layer, I take my time pouring it over the base, ensuring even distribution. I’ve learned that tapping the pan gently on the counter helps eliminate any air bubbles and creates a smoother finish.
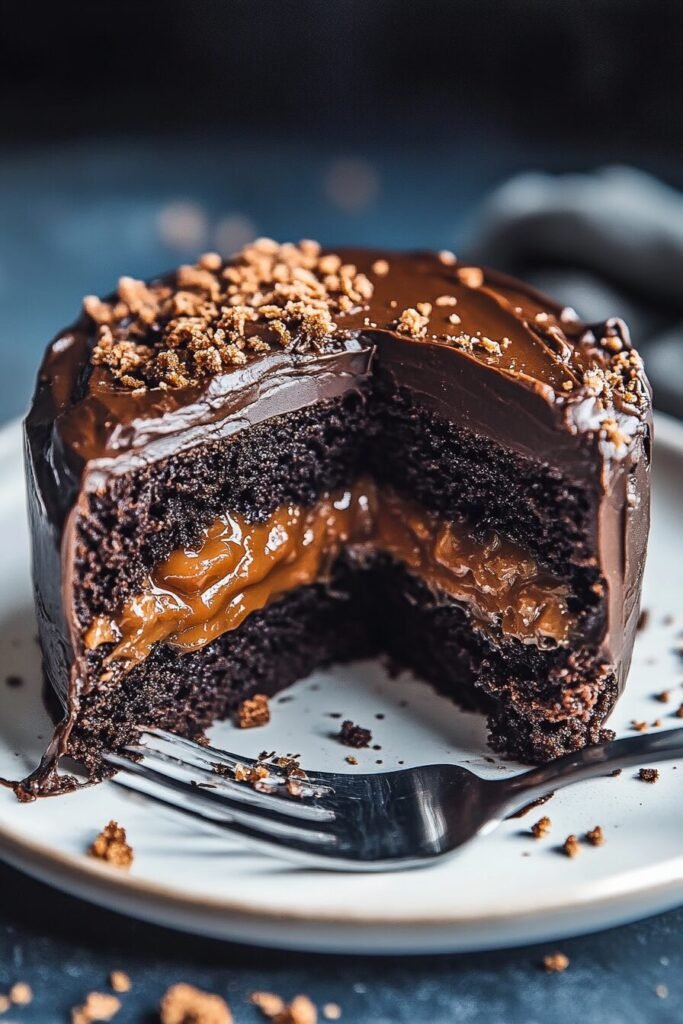
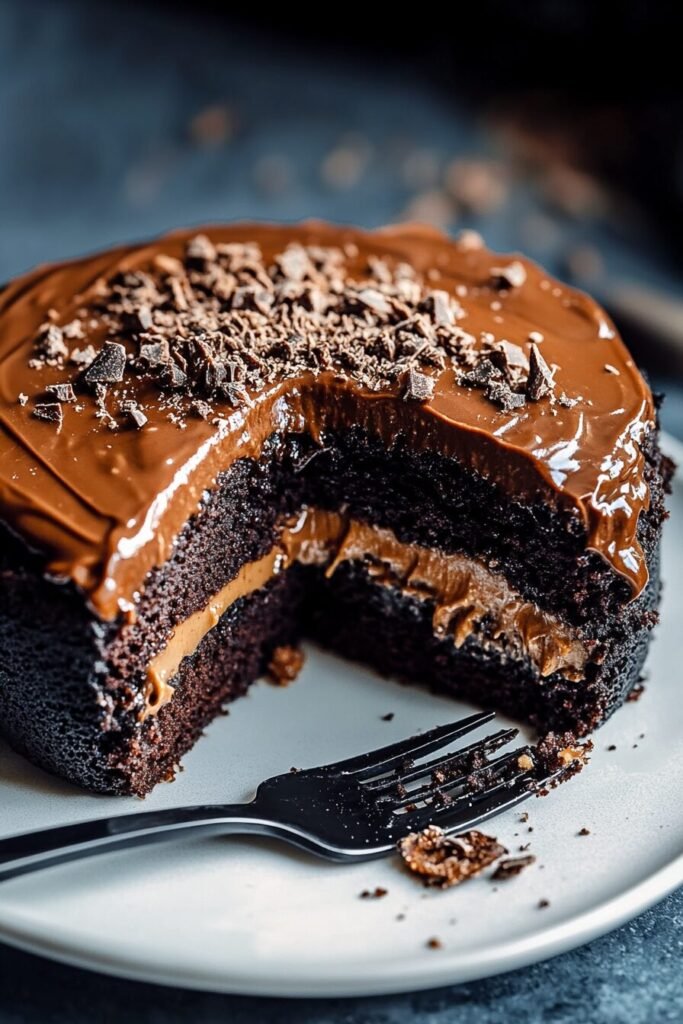
Before the final bake, I sprinkle chocolate chips across the surface, allowing some to sink slightly into the gooey layer. I’ve discovered that this creates pockets of melted chocolate throughout the cake, adding another dimension of indulgence.
The baking process requires attention – I watch for that perfect moment when the top is set but still has a slight jiggle in the center. This typically takes about 45 minutes in my oven, but I start checking at the 40-minute mark since every oven is different.
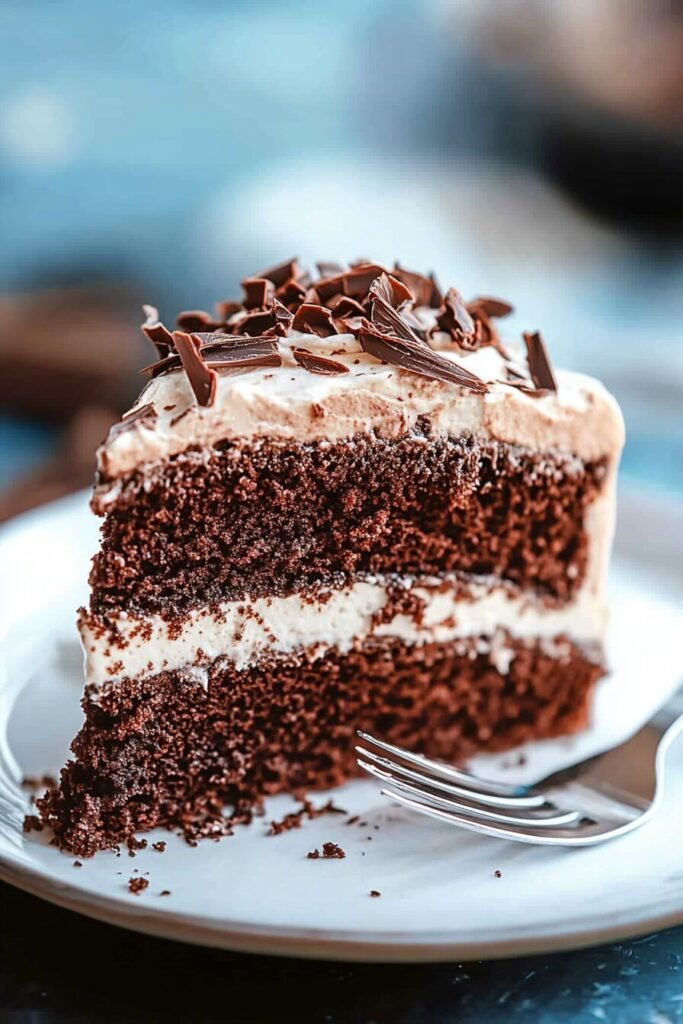
After baking, I let the cake cool completely in the pan. This resting period is crucial for achieving the perfect texture. Just before serving, I dust the top with a light snow of powdered sugar, creating a beautiful finish that hints at the decadence waiting beneath.
Perfect Baking Guide: Creating the Ultimate Gooey Texture
The Secret to Perfect Baking
Having baked this cake countless times in my kitchen, I’ve mastered the subtle nuances that make the difference between good and extraordinary. Let me share my tried-and-true baking process that ensures perfect results every time.
Setting the Stage for Success
Before I even think about mixing ingredients, I make sure my oven is properly preheated to exactly 350°F. I’ve found that using an oven thermometer is crucial – even a slight temperature variation can affect the final texture. While the oven heats, I prepare my 9×13-inch baking pan with a thorough coating of nonstick spray. Here’s a pro tip I’ve discovered: a light dusting of cocoa powder instead of flour prevents any white residue on your chocolate cake.
Building the Foundation
The base layer is crucial for the cake’s structure. I start by combining my cake mix with perfectly melted butter and a well-beaten egg. The key here is the mixing technique – I fold these ingredients together just until they’re combined. Overmixing at this stage can lead to a tough base. When pressing this mixture into the pan, I use slightly dampened fingers to prevent sticking and achieve an even layer.
Creating the Gooey Magic
This is where years of experience really comes into play. I begin by beating the cream cheese until it’s silky smooth – no shortcuts here! Using my stand mixer with the paddle attachment (though a hand mixer works just as well), I make sure there are absolutely no lumps before moving forward.
Then comes the careful process of incorporating the eggs and peanut butter. I’ve found that adding each egg individually and beating well between additions creates the perfect texture. The confectioners’ sugar goes in gradually – this prevents a sugary cloud from forming and ensures smooth incorporation.
The Final Bake
The baking process is where patience becomes crucial. I’ve learned that the standard 50-minute bake time is really just a guideline – the real test is in the jiggle. The center should still have a slight wobble when you gently shake the pan. If you wait until it’s completely set, you’ll lose that signature gooey texture that makes this cake so special.
I always let my cake cool on a wire rack for about 30 minutes before even thinking about the ganache. This cooling period is essential for achieving that perfect fudgy texture we’re after.
Perfect Storage Guide & Final Thoughts: Making Your Cake Last
Mastering the Art of Storage
After years of perfecting this recipe, I’ve learned exactly how to keep this decadent cake fresh and delicious for as long as possible. Let me share my tried-and-true storage methods that preserve both taste and texture.
My Storage Secrets
The key to maintaining that perfect gooey texture starts right after baking. I always let my cake cool completely on a wire rack before even thinking about storage. Once it’s reached room temperature, I wrap it carefully – first in a layer of plastic wrap, making sure to seal all edges, then in aluminum foil for extra protection.
From extensive testing, I’ve found that this cake stays wonderfully fresh at room temperature for up to 2 days. However, if you’re planning to keep it longer, I recommend refrigeration. In the fridge, properly wrapped, it maintains its delicious qualities for 4-5 days.
Freezing for Later
Here’s a tip not many people know: this cake freezes beautifully! I often make an extra batch specifically for freezing. When properly wrapped (I use a double layer of plastic wrap plus foil), it can last up to 3 months in the freezer. Just remember to thaw it overnight in the refrigerator when you’re ready to enjoy it.
Final Thoughts on This Chocolate Dream
Creating this chocolate ooey gooey cake has become one of my favorite baking adventures. Every time I make it, I’m reminded of why I fell in love with this recipe. The way the rich chocolate base melds with the creamy filling, creating that perfect gooey texture – it’s simply magical.
What I love most about this cake is its versatility. I’ve served it at casual family gatherings and elegant dinner parties alike, and it never fails to impress. Whether you’re an experienced baker or just starting your culinary journey, this recipe is guaranteed to bring joy to anyone who tries it.
Remember, the key to success lies in the details – quality ingredients, proper temperature control, and patience during the baking process. Trust me, once you master this recipe, it will become your go-to dessert for any occasion that calls for something truly special.
So go ahead, preheat that oven, and get ready to create something extraordinary. Your kitchen will smell amazing, and your taste buds will thank you!
PrintChocolate Ooey Gooey Cake
A decadent dessert with two distinct layers: a fudgy chocolate cake base topped with a rich, molten chocolate layer that creates the signature “ooey gooey” texture. This indulgent treat delivers an intense chocolate experience with a contrast between cake-like and pudding-like textures in every bite. Perfect for serious chocolate lovers who crave something beyond an ordinary chocolate cake.
- Prep Time: 15 minutes
- Cook Time: 45 minutes
- Total Time: 1 hour
- Yield: 12–16 slices 1x
- Category: Dessert
- Cuisine: American
Ingredients
For the Chocolate Cake Base:
- 1 box chocolate cake mix (15.25 oz)
- ½ cup unsalted butter, melted
- 1 large egg, room temperature
- 1 teaspoon vanilla extract
- ½ cup semi-sweet chocolate chips
For the Gooey Chocolate Layer:
- 8 oz cream cheese, softened
- 2 large eggs, room temperature
- 1 teaspoon vanilla extract
- ½ cup unsalted butter, melted
- 3½ cups powdered sugar
- ½ cup unsweetened cocoa powder
- ¼ teaspoon salt
- ½ cup semi-sweet chocolate chips
For Serving (Optional):
- Vanilla ice cream
- Whipped cream
- Fresh berries
- Powdered sugar for dusting
- Hot fudge sauce
Instructions
- Preheat and Prepare Pan: Preheat oven to 350°F (175°C). Grease a 9×13-inch baking dish or spray with non-stick cooking spray.
- Make the Cake Base: In a large bowl, combine the chocolate cake mix, melted butter, egg, and vanilla extract. Mix until well combined – the mixture will be thick and dough-like. Press the mixture evenly into the bottom of the prepared baking dish. Sprinkle ½ cup chocolate chips evenly over the cake base.
- Prepare the Gooey Layer: In a large mixing bowl, beat the cream cheese until smooth and creamy, about 2 minutes. Add the eggs one at a time, beating well after each addition. Mix in the vanilla extract. With the mixer on low, gradually add the melted butter.
- Add Dry Ingredients to Gooey Layer: Sift together the powdered sugar, cocoa powder, and salt. Gradually add to the cream cheese mixture, mixing on low speed until just combined. Be careful not to overmix. The batter should be smooth and glossy. Fold in the ½ cup chocolate chips.
- Assemble and Bake: Pour the gooey chocolate layer over the cake base, spreading it evenly to cover completely. Bake for 40-45 minutes until the edges are set but the center still has a significant jiggle when the pan is gently shaken. The center should look undercooked – this is the “gooey” part of the cake.
- Cool: Allow the cake to cool in the pan for at least 30 minutes before serving. The gooey center will continue to set slightly as it cools, but will remain soft and pudding-like.
- Serve Warm: For the ultimate ooey-gooey experience, serve while still warm, but not hot. The cake will be more structurally solid when fully cooled but will retain its gooey center.
Serving Suggestions:
Serve squares of this decadent cake slightly warm for the ultimate gooey experience. Top with a scoop of vanilla ice cream or a dollop of whipped cream to contrast with the rich chocolate. Fresh berries like raspberries or strawberries add a bright, tangy balance. For an extra indulgent dessert, drizzle with warm hot fudge sauce and sprinkle with powdered sugar just before serving.
Notes
Pro Tips:
- Don’t overbake! The center should still be jiggly when you remove it from the oven. Overbaking will result in a cake that’s no longer “gooey.”
- For an even more intense chocolate flavor, use dark chocolate cake mix and dark chocolate chips.
- Bring all refrigerated ingredients to room temperature before mixing for the smoothest texture.
- Use high-quality cocoa powder for the best chocolate flavor.
Common Mistakes to Avoid:
- Overbaking is the most common mistake. Remember that the center should look underdone when you take it out of the oven.
- Overmixing the gooey layer, which can incorporate too much air and change the desired dense, fudgy texture.
- Using cold ingredients, which can create lumps in the gooey layer and affect the final texture.
Storage Instructions:
Store covered at room temperature for up to 2 days or in the refrigerator for up to 5 days. The texture is best on the day it’s made, but still delicious afterwards. To reheat individual servings, microwave for 15-20 seconds to restore some of the gooeyness. This cake can also be frozen for up to 2 months – wrap individual portions tightly in plastic wrap and then foil. Thaw in the refrigerator and warm slightly before serving.
Enjoy your Chocolate Ooey Gooey Cake!